How to Install War Thunder Skins
War Thunder is a popular military-based massively multiplayer online game from Gaijin Entertainment. It features large-scale battles across land, air, and sea, and has hundreds of different vehicles that players can pilot. Since its launch in 2013, the developers have continued to add new content, including tanks, ships, planes, and factions. During that time, War Thunder has produced a thriving community of players who are dedicated to the game. One interesting element to develop from this community is War Thunder custom skins. We look at what they are and how you can install them.

War Thunder Custom Skins
In a separate article, we did a deep dive on War Thunder skins. We looked at the importance of them and the different types available. Here, we’ll quickly recap some of the key points.
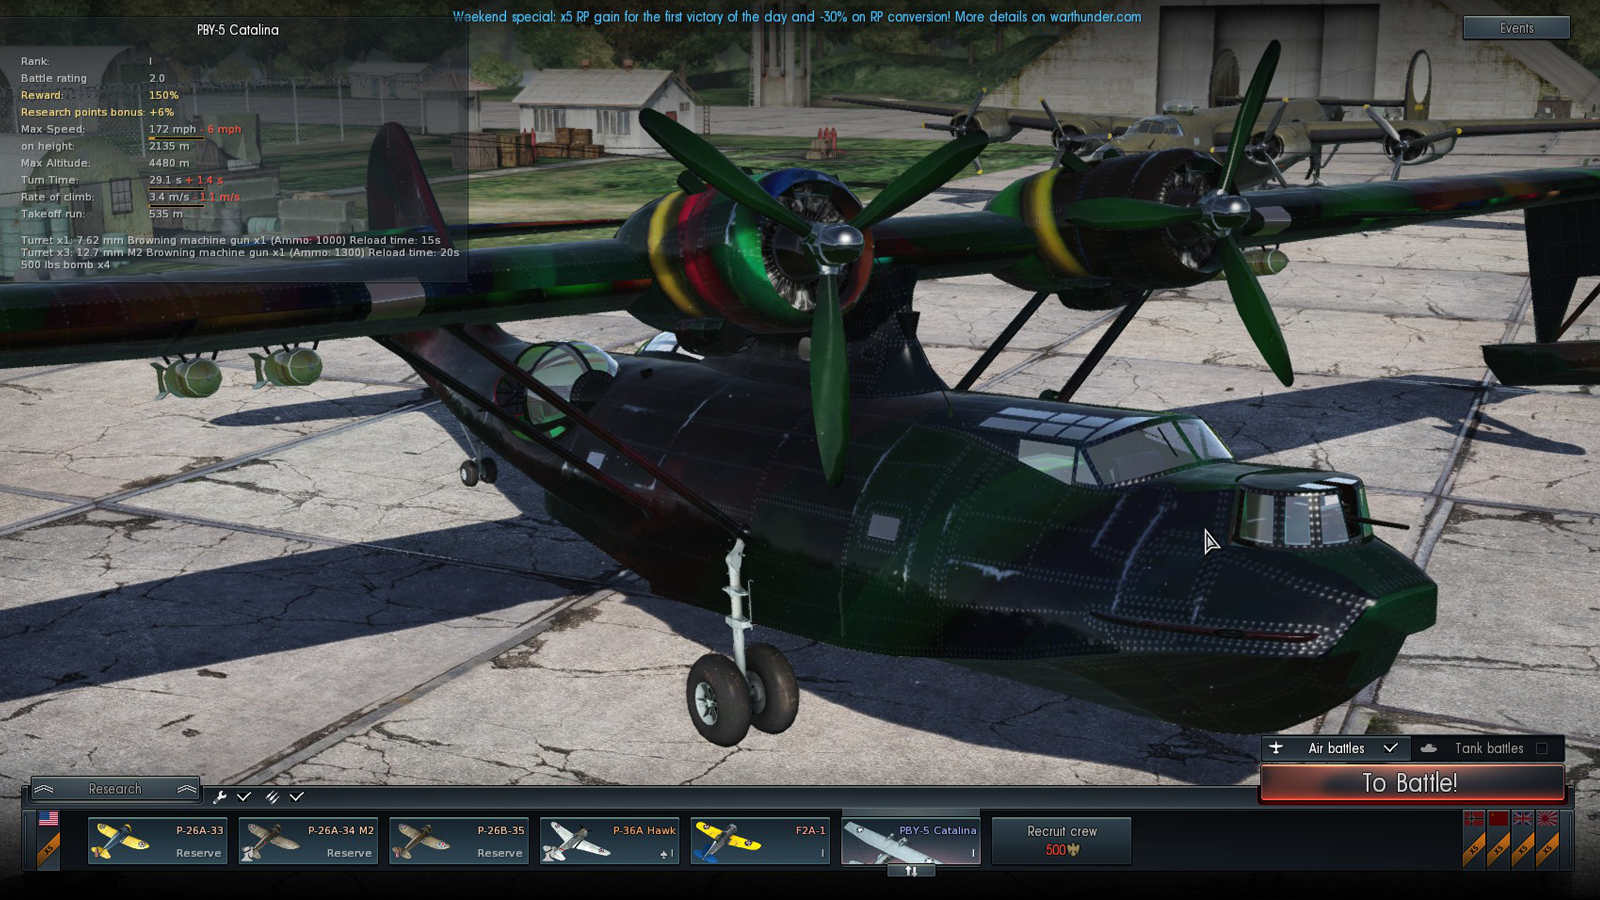
War Thunder skins give players the chance to change the appearance of the game. They can modify how vehicles appear, giving a degree of freedom for the imagination. The game does feature a custom camouflage creator which allows players to come up with their own camo designs for the vehicles. However, custom skins give even more variables to play with. There are two main types available:
-
Client-side skins. These are free designs that you can download from a variety of different websites. They change the appearance of vehicles for the player only; other players will see the default setting during online matches.
-
Server-side skins. These are purchasable designs from the War Thunder marketplace. They can be redeemed in-game and change the appearance of the vehicle for everyone.
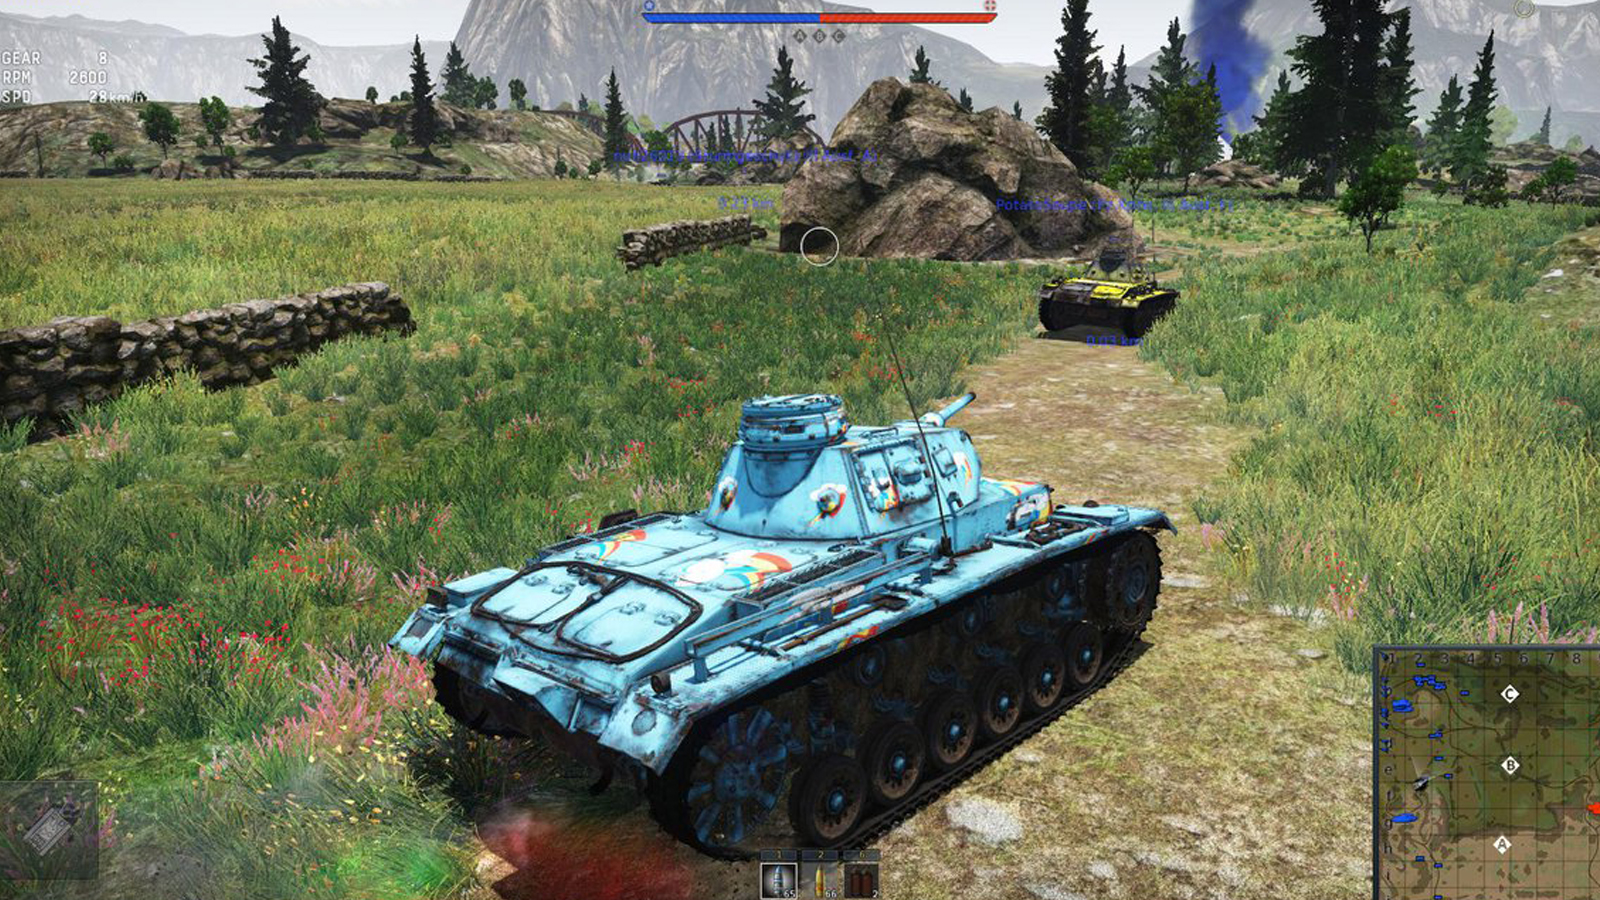
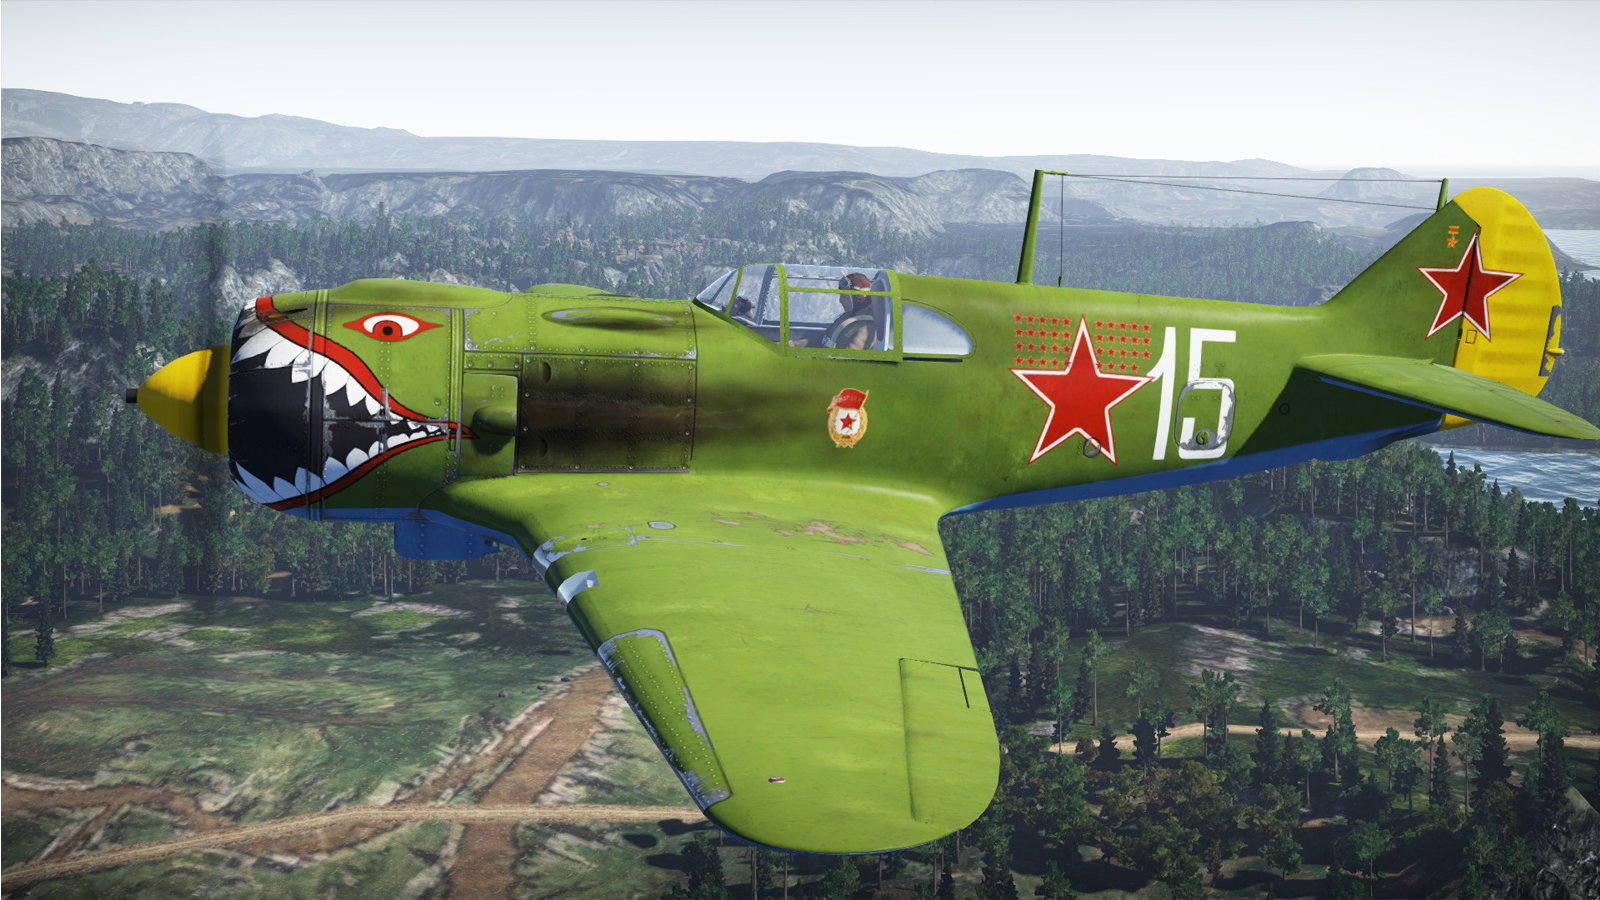
Each of these has its benefits. Client-side skins can give almost any appearance to the game’s vehicles. Historical accuracy aside, there are some spectacular designs. However, only you will be able to see them. The marketplace skins have some tight regulations, meaning they’re not quite as expressive. However, every other player can see your cool designs.
Installing Client-side Skins
This is the more complex way of changing the game’s appearance, as you’ll have to poke around in the game’s install files. When making changes, it’s always good to have a backup of the folders or files you’re editing in case something goes wrong.
Below, we’ve outlined the steps you’ll need to take to install War Thunder skins you’ve downloaded:
-
Launch War Thunder and find the vehicle you wish to create a new skin for. Click on the customisation tab to create a new template for said vehicle. Make sure you note down the name of this.
-
Find a website where you can download custom skins from. Live.warthunder.com is a popular choice as it has an extensive library that you can search and filter. Find one that suits your tastes and download it.
-
Once the file is downloaded, navigate to your War Thunder main install file. Here, you’ll want to navigate to a folder called UserSkins. In here, you’ll hopefully find a folder for the custom template you created earlier.
-
Drag and drop the downloaded skin files into your custom folder. If prompted, press ‘move and replace’ for all options.
-
Open the game again and go to the vehicle you applied the skin to. Click on User Skins to see the new look of your vehicle.
It’s a fairly straightforward process that you can repeat for almost any vehicle in the game.
Installing Marketplace Skins
Gaijin Entertainment recently launched a marketplace for War Thunder custom skins. Thankfully, this makes the process of changing vehicle appearances a lot easier. The major downside is that you have to purchase or trade for skins. We’ve outlined the steps below:
-
Navigate to the War Thunder Marketplace and click on the ‘Market’ tab.
-
You’ll need to buy coins to use on the marketplace. You can do this by pressing on your account name and selecting ‘Buy Gaijin Coins.’ You’ll be directed to a page to complete the purchase.
-
When returning to the marketplace, you’ll immediately see a range of different skins and decals available.
-
You can sort by name, popularity, price, and quantity, giving a range of ways to filter the results.
-
Click on a skin that appeals to you to get further details.
-
You’ll see a screen that shows details on how many are available, the price, and historical activity.
-
Click on the ‘Buy’ button and agree to the Gaijin Store terms of use. On the next screen click ‘Place order.’
-
Go to the Inventory tab to see your purchases.
-
Return to the game and open a vehicle that you wish to apply a skin to.
-
Click on the ‘Shop’ icon on the top right. You’ll see a notification saying you have items in your inventory. Press on this.
-
You can redeem your skin from this screen by pressing the ‘Consume’ button. However, once redeemed you can no longer resell it on the marketplace.
-
On the vehicle customisation, select camouflages and select your new skin.
How to Install War Thunder Skins: Tips
Using custom designs can really enhance your gameplay experience. Here are some tips to get the most out of it:
-
Test free skins first. Don’t jump straight into the marketplace and spend your money. Experiment with the free skins available first and see how you like them.
-
Historical accuracy. Not all skins are representative of the time period. This may matter to you or not, but consistency is key!
-
Situation appropriate. Don’t forget, some custom skins are going to make you stand out quite a lot. Even with the marketplace’s submission rules, some available skins will put you at a disadvantage.
-
Copy your files. You should never edit your install folder without backing up first. Make a copy of the files you’re about to edit in case something goes wrong. It’s always better to have a backup than have to reinstall the whole lot.
-
Control your spending. Don’t get too carried away on the marketplace. Have a budget in mind and stick to it!